X-ray Analysis --PUBLIC: Difference between revisions
Jump to navigation
Jump to search
No edit summary |
No edit summary |
||
| Line 7: | Line 7: | ||
*Click on the link that says training video. Once you watch the training video look through the supporting documents | *Click on the link that says training video. Once you watch the training video look through the supporting documents | ||
*Once you go through the supporting docs. go to the MPC server and open the folder called X-Ray Supporting Doc then open X-ray test | *Once you go through the supporting docs. go to the MPC server and open the folder called X-Ray Supporting Doc then open X-ray test | ||
*Have the supporting docs | *Have the supporting docs open on the side as you go through these practice X-rays. The answers for these X-rays are in the same folder. | ||
*Remember to keep in mind that pictures are not always taken perfectly and because of this the body/head might not be perfectly aligned. | *Remember to keep in mind that pictures are not always taken perfectly and because of this the body/head might not be perfectly aligned. | ||
Revision as of 20:36, 11 January 2023
supporting documents training video for xray skeletal anatomy analysis
- The image labeled Bruker registration is for when your Bruker software has not been activated yet.
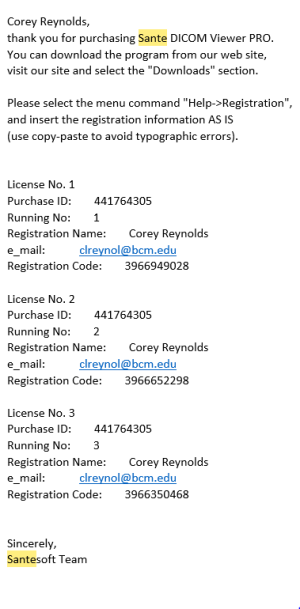
- The image labeled Santesoft registration is for when your Sante DICOM Editor software has not been activated yet. This is the main software you will be using.
- Click on the link that says training video. Once you watch the training video look through the supporting documents
- Once you go through the supporting docs. go to the MPC server and open the folder called X-Ray Supporting Doc then open X-ray test
- Have the supporting docs open on the side as you go through these practice X-rays. The answers for these X-rays are in the same folder.
- Remember to keep in mind that pictures are not always taken perfectly and because of this the body/head might not be perfectly aligned.

